Thursday, January 22, 2015

Designer Spotlight Post Continued


I had a spotlight on the new Scrapbook Expo blog called Weekly Scrapper yesterday and besides creating a new layout for the post, they also asked me to pick four of my favorite recent layouts.

All of my layouts lately have been all about watercolors!!  So here they are along with some questions that I answered for my spotlight post:

(these have all been previously published on my blog, but I still thought they would be fun to share!)


ALL YOU NEED IS LOVE by Gina Lideros
To create this layout I used my Silhouette machine to draw the title using sketch pens, trimmed it out, and then applied watercolors. Super easy to do and makes a great background!
LIVE SIMPLY by Gina Lideros
This layout has two of my favorite things – watercolors and die cut letters. Simply apply watercolors to cardstock and then stitch down title using a sewing machine.
HOORAY by Gina Lideros
To document my New Year’s Eve photos I cut my photos and background papers into pennant shapes and then grouped them all together to make one large hanging pennant.


SHINE by Gina Lideros
Creating a sequin title for your page is easy to do and creates a big impact! I used a stencil as a guide and then adhered my sequins down using liquid adhesive.


Tell us a little bit about yourself and how you got started scrapbooking: Hi! My name is Gina Lideros and I am so excited to be here! I am a military wife of 16 years to my husband Frank. Together we have two children ages 15 and 13. We live in sunny California with our 3 fur babies (dogs). We love to enjoy the outdoors and like to go camping and biking. I began scrapbooking in 1997. I was introduced to it by a friend and have been hooked ever since! I have been fortunate to work with a lot of great companies and meet some awesome friends.
Favorite thing to scrap: My family and everyday moments. I also love to scrap my 3 dogs. They make great scrap subjects!
What do you love about scrapbooking? I love that it is a creative form of expressing art while also documenting family memories.
5 fun facts about yourself:
1. I can’t scrap in silence. I need to have on music, a tv show, or friends with me while I scrap.
2. My favorite sweet treat to indulge in is white chocolate covered pretzels.
3. I was born and raised in Las Vegas and met my husband there. We were married on the Las Vegas strip in true Vegas tradition!
4.  I’ve been a blonde my whole life. The biggest change I’ve ever done was getting highlights. I kind of think I’d like to try something different, but I’m a big chicken about changing it!
5. I’m going through a painting phase. I need to apply watercolors or acrylics to every project that I make.

Wednesday, January 21, 2015

Scrapbook Expo Spotlight


I have a spotlight post over on the new and improved Scrapbook Expo blog called The Weekly Scrapper

I made a layout for the spotlight and I'm sharing it with you today!

XO Ice Cream by Gina Lideros

Description: I love incorporating photos into my design.   On this page, I printed my photos small and cut them the same size as my background pieces.  I created this layout based on a quilt background design that I love.  I used the Serendipity collection from American Crafts and added watercolor paints.
Supplies: American Crafts Dear Lizzy Serendipity collection: Patterned Papers, Thickers Royal/Foil Gold Stickers, Stickers Gold Mini Alpha, Fabric Embellishments Shapes, Pleather Bows, Enamel Dots, Ephemera; Other: watercolors, whited cardstock


I'm also sharing four of my favorite layouts on my spotlight today.  To visit the full post go here.


Saturday, January 17, 2015

Scrapbook Circle | Shine Layout

Hi everyone!  It’s Gina here today and I’m excited to share with you a layout that I made this month using the January  All You Need Is Love Kit.  I was inspired by a recent cut file that I downloaded online to create my background.


I chose three photos and cropped them to fit within a couple pieces of the heart shape.  Then I chose papers from my kit and backed a few of the pieces.  I chose to leave the rest of the shape open so that my background paper would show through.


I added Authentique mini diction stickers and Foil Word Stickers from the  Hello Love Add-On and enamel dots from the Shine Bright Add-on.  I added drops of white paint and black ink to finish off my layout.

Tip: to add white paint to my page, I dipped the bottom end of a paint brush into a bottle of paint and flicked it across my page.  I didn't plan it, but I love that the bottom white flickers of paint mimic a heartbeat.

I hope you enjoyed my page today!  As always, we love to see how you use your kits! Please share over on the Scrapbook Circle Facebook page so we can see your work.


Wednesday, January 14, 2015

American Crafts | 10+ Patterned Papers

Hello all!

I had a tutorial up on the American Crafts blog yesterday that I would like to share with you!  For this weeks assignment we were challenged to use 10+ patterned papers.  I decided to make a home decor piece for my project.

I like to switch out the frames and art deco pieces in my home every so often, to give it a fresh look. Using a selection of patterned papers to create new art is a simple and cost effective way to achieve this look.

Supplies: Dear Lizzy (369181) - Little Things Paper, Dear Lizzy (369185) - Hello Beautiful Paper, Dear Lizzy (369186) - Summer Breeze Paper, Dear Lizzy (369187) - One Fine Day Paper, Dear Lizzy (369191) - Good Vibes Paper, Dear Lizzy (369192) - Bloom Paper, Dear Lizzy (369195) - Razzleberry Paper, Dear Lizzy (369196) - Liz Lemon Paper, Dear Lizzy (369200) - Blueberry Paper, HomeMade (732610) - Foil Cardstock Gold, This To That (61707) - Double Sided Tape

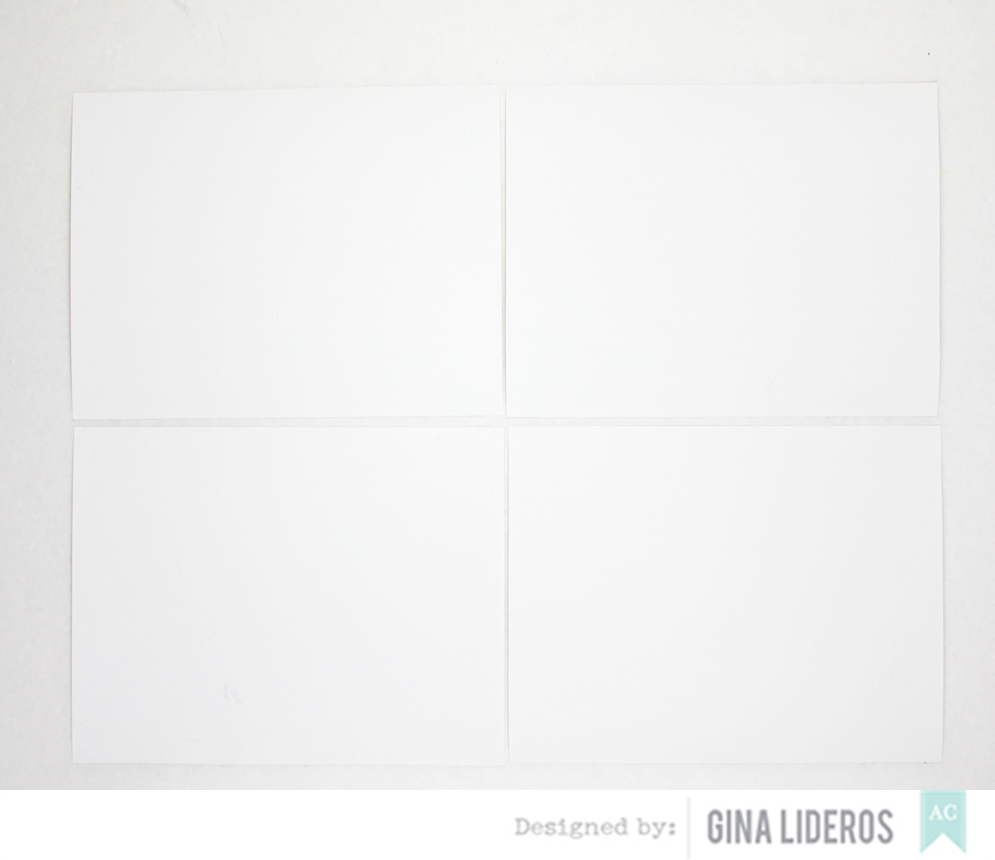
1.  Begin by selecting a frame that you would like to display your artwork.  Take out the matte from inside the picture frame and trace it onto white poster board.  Measure it onto four identical pieces and cut them out, like so:


2.  Next, Trim out several pieces of patterned paper each measuring 5/8" x 12" long.


3.  Next, take one of the patterned paper strips and lie it diagonally across the center of each of the four pieces.  Use double sided tape to adhere it down.  Trim off the excess ends with scissors.  Do this for each individual piece.

4.  Now, begin to build your pattern, by filling each pattern piece with diagonal patterned paper strips (each measuring about 5/8" apart).


When you are finished filling up each of the four pieces, adhere them to the inside matting of the frame, and enjoy!


I hope you enjoyed my tutorial today, for more inspiring ideas visit the American Crafts Design Team Gallery here.


Thursday, January 8, 2015

American Crafts | Serendipity Cards

Hi everyone,

I had a couple of cards up on the American Crafts blog that I would like to share with you.  The delightful designs and adorable embellishments in the Serendipity collection make card making easy.  I made a couple of simple all occasion cards to keep on hand to send to friends and family.


Supplies: Dear Lizzy (369195) Razzleberry Paper, Dear Lizzy (369209) Royal/Foil Thickers Alpha Stickers, Dear Lizzy (369218) - Ephemera W/ Gold Foil, Dear Lizzy (369217) - Pleather Bows, Dear Lizzy (369225) - Embossin Folder Words, This To That (AM617-13) - Adhesive, Cardstock (AM710-81) - White

How to:  Trim a piece of Razzleberry paper to 4x6 and adhere to card face.  Trim a piece of white cardstock to 3x5 and emboss with embossing template, adhere to center of card.  Adhere gold frame sticker to center of card, slightly off centered.  Adhere "Smile" gold foil thicker word to top center of card.  Adhere "hello darling" die to bottom of gold frame sticker.  Finish by adhering pink pleather bow and thread to card.

Supplies: Dear Lizzy (369196) - Liz Lemon Paper, Dear Lizzy (369197) - Smitten Paper, Dear Lizzy (369217) - Pleather Bows, Dear Lizzy (369216) - Fabric Embellishments Shapes, Dear Lizzy (3692c11) - Accents & Phrases W/ Gold Foil, Dear Lizzy (369225) - Embossing Folder Words, This To That (AM617-13) - Adhesive, Cardstock (AM710-81) - White

How to: Trim a piece of Liz Lemon paper to 4x6 and adhere to card face.  Trim a piece of white cardstock to 3x5 and emboss with embossing template, adhere to center of card.  Adhere "Shine" sticker to top left hand side of card.  Adhere "XO" fabric embellishments to center of card.  Finish by adhering pink pleather bow and thread to card card.


Wednesday, January 7, 2015

Scrapbook Circle | Circle Round Up

Hi everyone!!  
I had a post up on the Scrapbook Circle blog earlier this week showing how I used their January Circle Round Up to gain inspiration for my page!! 


I love the Circle Round Up because it gives you an outline of ideas of what will work well together.  I always start with the largest circle first and then make my way to the smallest circle.  The largest circle used .  I used the Pink Paislee Gorgeous paper included in the All You Need is Love kit for that.

The next circle was the blush circle.  I used washi shapes for that.  I stacked washi tapes along the right side of my layout.  

The next circle was the Bling It On circle.  I used the AC Gold heart stickers to add a little of bling to my layout.


The last circle was the Add-on circle .  I used the Authentique mini diction word stickers to add extra text to my layout.  Because I followed the circle round up recipe everything came together pretty well.  I hope that you can gain inspiration this month from the circle round up!


Monday, January 5, 2015

You're a Gem


Hi there!  I'm back today with my very last two layouts today that I created for a guest spot over at Shimelle.com.  I'm sharing two more ideas for titles.


You're a Gem

I love a simple mixed title. I think that mixing up supplies that you already have on hand can give them a fresh and unique look. To create the title for this page I simply combined die-cuts with Shimelle’s gold glitter thickers. The die cuts are basic but the thickers add interest and texture. The result is a fun mixed title.


Hello Love


Brush script is a creative way to bring originality into your memory keeping. There is nothing that draws me in to a project more than seeing a unique brush script title. To create my title for this page I first started by hand painting a large quotation bubble onto my page using a light watercolor pink. After my page dried, I hand painted the words “hello love” using black acrylic paint. For best results it is important to use a paint brush that it designed for calligraphy and sketching. To create my title I used a fine tipped size two bamboo paint brush.


I hope you enjoyed my final layouts for Shimelle.com!  Thanks for looking!