Monday, February 2, 2015

American Crafts | Winter

It's winter week on the American Crafts blog!  I hope all of my friends on the East coast are staying warm and dry right now!

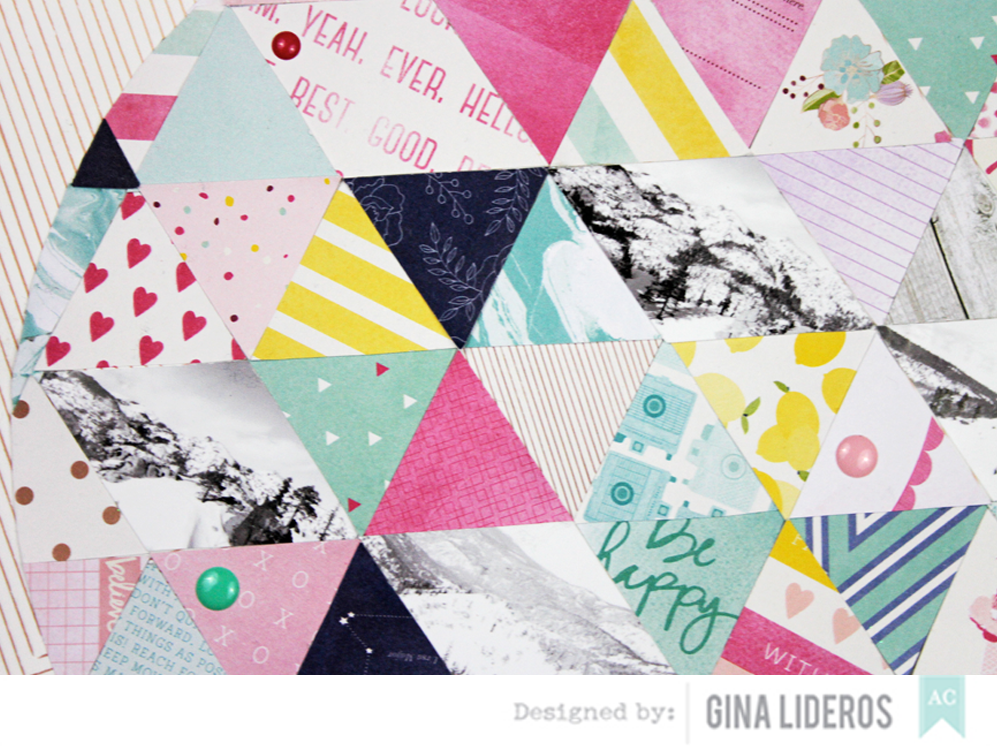
I wanted to document these recent photos that we took on a trip to Lake Tahoe last Winter.  
I kept the embellishments at a minimum to focus on the photos and the overall graphic 
design of the layout.


Supplies: Dear Lizzy (369206) - Serendipity 6x6 Paper Pad, Dear Lizzy (369188) - Sugar Sugar Paper, Dear Lizzy (369208)
- Soar/Woodgrain Print Chipboard Thickers, Dear Lizzy (369215) - Serendipity Enamel Dots, This To That (AM617-13) - Adhesive


How To:  Use a die cutting machine to cut triangles from different pieces of pattern paper.  Use a printer to print 5 small photos and trim them into a diamond design.  Piece together your background on a scrap piece of cardstock using repositionable adhesive (in case you need to re-align any of the pieces).  Trace around a large bowl or use a die cutting machine to trim your design into a large circle.  Adhere design to background patterned paper.  Spell out title "Winter" using thickers.  Finish by embellishing with enamel dots.


I hope you enjoyed my winter layout!  Thanks for looking!


Saturday, January 31, 2015

December Album

Now that the holidays are over I have been working on my December album to document lots of photos and memories that I took during the month of December.   I created my album using Pink Paislee's Merry and Bright Canvas Album kit, cards, papers, ephemera and stickers.


Here is a peek of the front cover.  I kept it simple to really let the sequin star shine.


On page one I used photos of my sweet niece Olivia in front of the Christmas Tree.  I used a brush set from Ali Edwards and printed my photos in black and white.


For page two I used a photo of candles that adorned our Christmas table.  I added some sequins to the bottom right hand pocket, and lots of lovely ephemera pieces.


For page three I used an adorable photo of my nieces Miranda and Olivia in front of the Christmas tree.  I'm so lucky to have such cute subjects to scrap!  I added some Studio Calico wood veneer pieces to the top right hand corner of my page.  


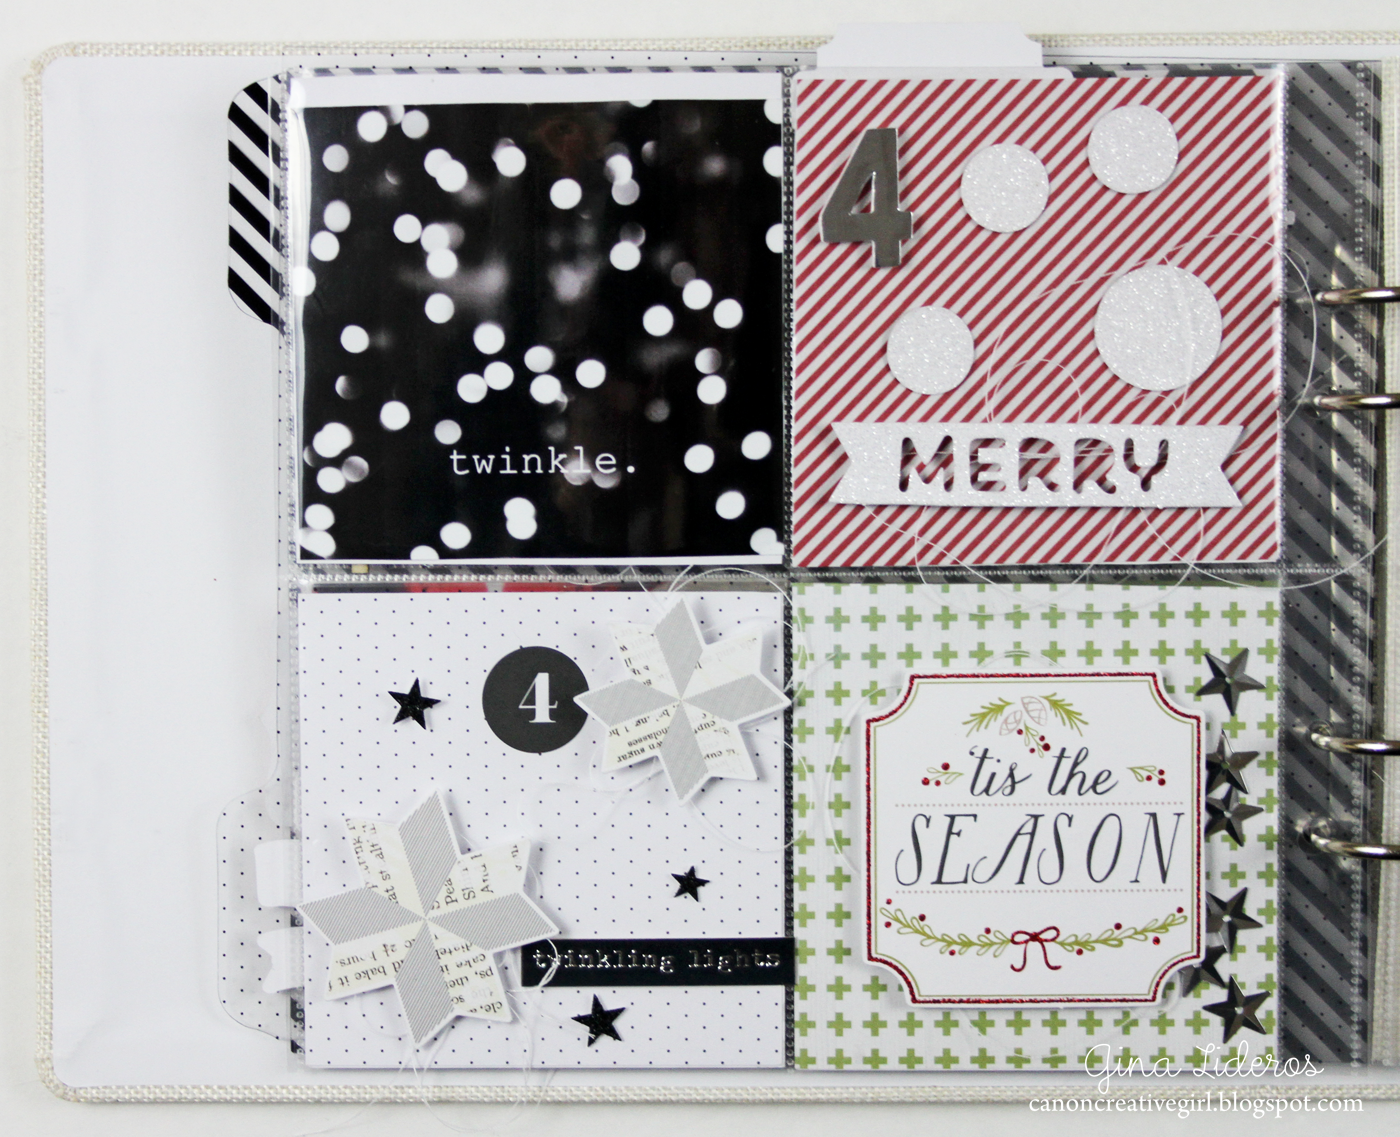
On page four, I took a photo of our tree using a bokeh effect.  I love the look!  I added silver sequin stars to the bottom right hand pocket.


On page five, I used another photo of my sweet niece Olivia in front of the tree with her Santa hat on.  I added some ephemera pieces, thread and glitter stickers.


On page six, I used a photo I snapped of some Christmas ornaments.  I added some star sequins and wood veneer.


For page seven, I used a photo of my kids (Kalee and Matthew) with their cousin Miranda.  I added some wood veneer pieces, a canvas star, and a cute little bow from Pink Paislee.


Throughout the rest of the month I will be working on finishing up the rest of the album.  I will post the final pages here when I complete them.  


Thanks for looking!  


Friday, January 30, 2015

You & Me

Hello and Happy Friday!  I have a layout to share with you today that I created for  The Cut Shoppe using the brand new Sweet Hearts and Love Letters cut files!  I loved taking one of the hearts from the Sweet Hearts set and enlarging it to use on my layout.


To create my layout, I began by painting watercolors on a white cardstock background.  I also flicked white paint and gold spray mist across the page.  Next, I enlarged my heart and cut it out of white cardstock.  I backed a few of the open spaces with patterned papers.  Next, I cut out my title a small heart and a few + signs and added them to my page.  I added my photo and a few cardstock embellishments, thread and buttons.


Supplies: Sweet Hearts cut file, Love Letters cut file: The Cut Shoppe; cardstock, patterned papers, stickers : American Crafts; Other: paint, watercolors, spray mist


Monday, January 26, 2015

Scrapbook Circle | Magic


I have another layout to share with you that I created this month for Scrapbook Circle using their January All You Need Is Love kit.

This was a designer's choice layout this month or a "free for all".  I was so impressed this month by the selection of papers and embellishments in this month's kit.


To create my background, I used a mixed of Amy Tangerine Stitched papers.  I cut out a few wonky circles using my Silhouette Cameo and then splattered white paint across my page.  


I added Pink Paislee Bella Rouge Transparent alphas and Scrapbook Circle exclusive acrylic hearts.  I have a tip to share with you about creating titles.  When I was spelling out my title I ran out of the letter "A" so I used a V (turned upside down) and added embroidery floss stitched across to make it an A.


Sunday, January 25, 2015

American Crafts | Metal Dies Week

Hi everyone,

It is metal dies week on the American Crafts Blog this week and I have a card to share with you today using the Dear Lizzy Serendipity die set.

You can layer dies to create one of a kind embellishments.  I layered the flower dies, included in the Dear Lizzy Serendipity die set, to create a 3d flower for my card.

Supplies: Dear Lizzy (369198) - Very Vanilla Paper, Dear Lizzy (369185) - Hello Beautiful Paper, Dear Lizzy (369186) - Summer Breeze Paper, Dear Lizzy (369224) - Serendipity Dies, Dear Lizzy (369213) - Serendipity Puffy Stickers, This To That (AM617-13) - Adhesive, Cardstock (AM710-81) - White


How To: Use an electronic die cutting machine to cut bow card design.  Trim a piece of Very Vanilla paper and adhere to card front.  Use a manual die cutting machine to cut flower pieces from Serendipity Die set.  Layer flower pieces and adhere to center of card design.  Finish by adhering "hooray" puffy sticker.


Thanks for stopping by today!  I hope you enjoyed my card!


Saturday, January 24, 2015

Bella Rouge Altered Frame

Hi everyone,

I have a fun altered project to share today using the Bella Rouge collection from Pink Paislee.  I love how soft, girly and sweet this collection is!  I decided to make an altered frame display using papers and embellishments from this collection.  I just love how it came out!


I had been wanting a clip on display photo frame for awhile but didn't want to pay for one.  I think it is so much fun to do it yourself.  So, I went to the hardware store and picked up some wire,  and nails.  I found the clips at a local office supply store.  


I strung four wires across the back of the frame.  I didn't measure, I just eyeballed it (which is usually my technique for everything)!

Next, I added about four metal clips to each hanging wire.


 Embellishing it was the fun part!  I used my Silhouette Cameo to cut out envelopes, tags, bows, and arrows.  I even found a sweet little viewfinder and diamond that I cut out that I thought would go perfectly with the Bella Rouge collection!


I embellished each hanging clip with pieces from the ephemera pack, puffy glitter stickers, and chipboard sticker pack.  I added some ribbons, loose thread and bling to dress them up!


I love the way this project came out.  You can bet that you will see more altered frame projects in the future using this DIY frame!


Friday, January 23, 2015

Pineapple Art Print | The Cut Shoppe

Hi everyone,

I hope your Friday is off to a great start!  I have a new project on The Cut Shoppe blog today that I would like to share with you using the Prickly Pineapple cut file.


To create my art print I cut out the Prickly Pineapples cut file using my Silhouette Cameo.  Then I used it as a mask.  I painted over it with watercolor paints onto watercolor paper using a water brush. Once it was dry I framed it.  This simple art print will make a sweet addition to any room.


Supplies: Prickly Pineapples Cut File: The Cut Shoppe; Other: watercolors, watercolor paper