Sunday, August 31, 2014

American Crafts Blog Hop


Hello and welcome to the American Crafts 2014-2015 Design Team Blog Hop!  I hope you'll be inspired by the amazing design team today!

Here is a new layout that I created for the blog hop using a mix of Amy Tangerine Plus One supplies! 


 Seriously Cute Layout by Gina Lideros

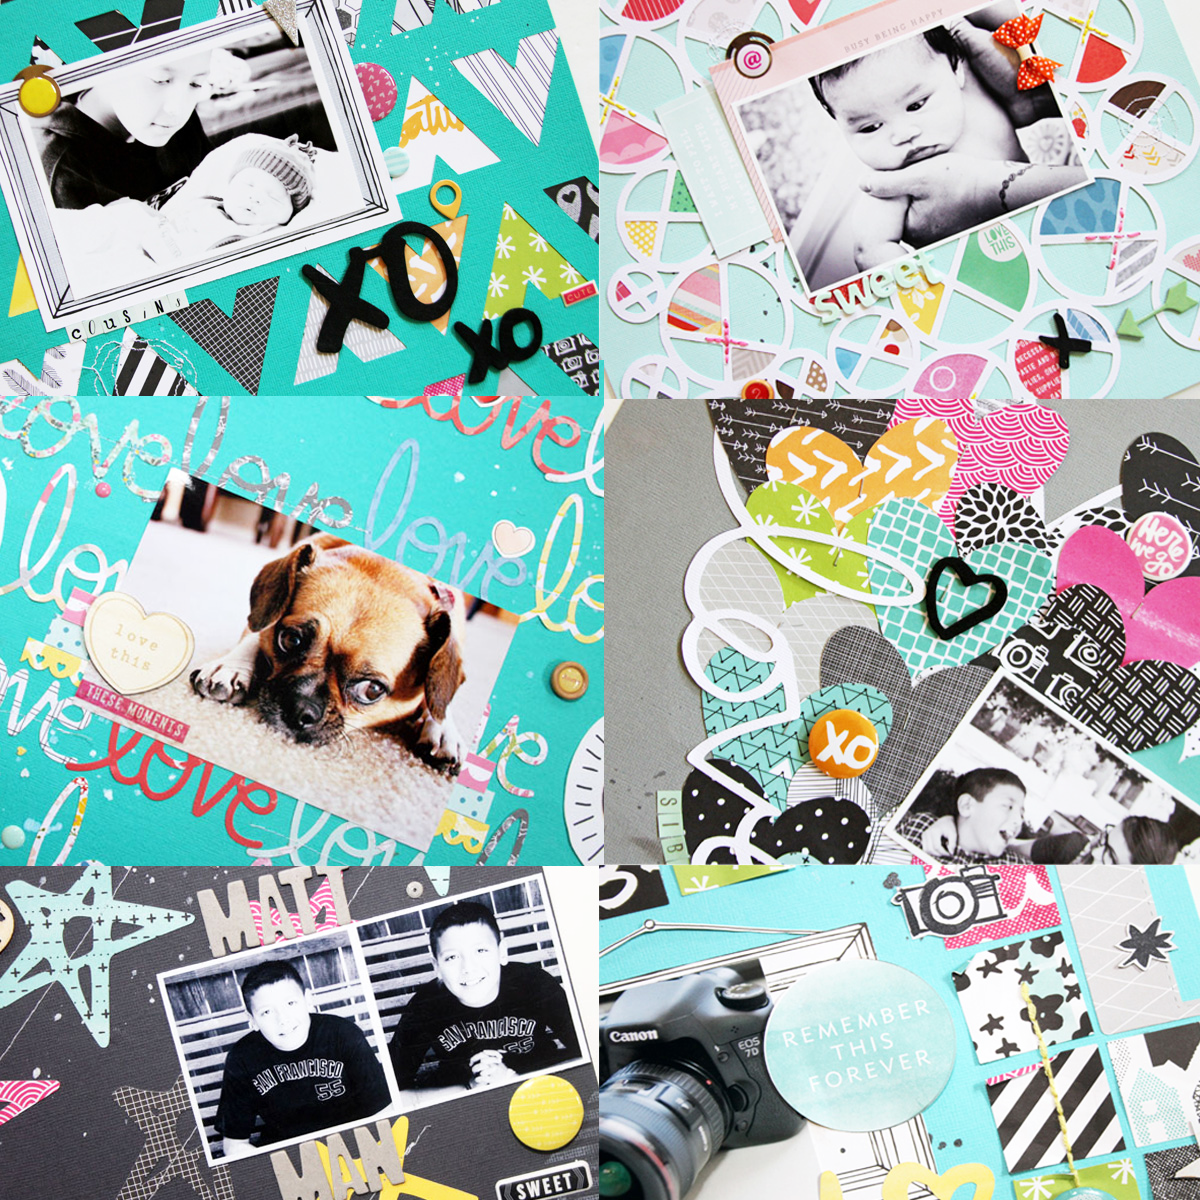
How to: I cut a large star with my Silhouette Cameo and filled it full of lots of punched pieces from the Plus One collection.
supplies: Amy Tangerine Plus One papers, Amy Tangerine Plus One Twins Font Thickers,  Adhesive This To That, Thread Gutermann, Mister Huey's Inky Black Spray mist, Dear Lizzy Daydreamer Thickers Alpha Stickers


A giveaway?  Of course!  Leave a comment on this post by Saturday September 6th, 2014 and tell me what is your favorite American Crafts product?  I'll randomly select a winner to receive this fun prize pack that I put together:


Here is the full hop list in case you get a little lost along the way.  Make sure you go through the entire hop, leave a comment on each blog, then visit the American Crafts blog to win an extra super fun prize!


Next on the hop is Heather Leopard!


Thanks for stopping by today, I hope that you are doing something fun with your day!


Saturday, August 30, 2014

American Crafts DT August Gallery layouts


Hi everyone,

I have a couple of Gallery layouts to share with you today using the brand new Shimelle collection from American Crafts.  This brand new collection arrived on my doorstep last week and I was so excited that I dove right in!

First day of School
How to:  I used a waterbrush to lightly paint my background paper with light blue watercolor paint.  Next I used the American Crafts Knockouts triangle punch 1.5" and 2" to punch out pieces of pattern paper from a 6x6 Shimelle paper pad.


New

This was my first experiment with brush script.  I'm kind of a neat freak about my handwriting so it was a little hard for me to let go with this.

How to:  I used my Silhouette Cameo to cut a large heart on my background paper, then cut strips of paper from the Shimelle collection to fill it.  After it was filled, I used a sewing machine to stitch around the outside of the heart and then painted the outline and title before adding embellishments.

Thanks for stopping by today!  I hope you enjoyed my monthly gallery layouts.  I will be back again tomorrow for the first American Crafts 2014-2015 blog hop!


Wednesday, August 27, 2014

Here we go...

Hi everyone,

I have a new layout to share today for the cut shoppe using a fun mix of cut files and printables.


Snap Layout


supplies: The Cut Shoppe Printables, All Around Arrows cut file; American Crafts: Amy Tangerine pattern papers


I used the all around arrows cut files and cut a repeated arrow out of different pieces of pattern paper.  I then printed off the picture this printables, and used a circle punch to cut out the 'snap' and 'pose smile repeat' words.  I finished off my layout by adding some stitching, journaling, tab and banner.


Thanks for stopping by today, stop by The Cut Shoppe store today to pick these up!


Sunday, August 24, 2014

The Cut Shoppe and Creative Scrappers Team Up

Hi there,

The Cut Shoppe and Creative Scrappers have teamed up for a fun inspiration sketch challenge!

Hello Creative Readers!
We have a special reveal today. We have partnered with The Cut Shoppe owned by our DT Member Ashley Horton. Our Design Team members were offered a few cut files and asked to play with them with their layouts this week.
We still have our Sponsor PinkFresh Studio with sketches 274-275 due by August 31st so don't forget those  For Sketch 276 Ashley from The Cut Shoppe will be offering a 20$ prize to her shoppe to one lucky winner who participates with sketch 276 and submits it by August 31st.


and here is the layout that I created based on the sketch:


Right Now Happy Layout

What I took from the sketch:  I kept the placement of the photos, title, star embellishments, ampersand and arrow in the same place.  What I changed:  I did away with the block pattern and instead used a pattern paper (by Pink Paislee) that had a sun ray.  I added simple machine stitching to the rays.

To create my layout I used the Counting Stars cut file (that I placed behind my bottom photo). 


And the Love Notes and Let Love In printables


Thanks for stopping by!  Make sure to visit the Creative Scrappers blog and The Cut Shoppe blog to see how others Design Team members have used the sketch.  The Cut Shoppe is going to Sponsor the sketch, with a $20 gift certificate.  You can link up to the CS Blog by August 31, for the chance to win.


Friday, August 22, 2014

Flip Flopping

Hi everyone,  
I have a layout to share a today using some super cute files from the The Cut Shoppe.

Life is Better in Flip Flops

I don't know about you, but I could wear flip flops or sandals all year long.  I used the fun flip flopping cut file to create my title for my layout.  I used the pie charts cut file to create those adorable hearts and backed them with some fun patterned papers from the Amy Tangerine Plus one collection.


This layout came together rather quickly because of all the fun cut files added so much that I didn't need to add much more.  See those fun little plus signs that I stitched on to the layout.  Those are leftover pieces that I saved from another project that uses the Plus Infinity background cut file.


I used Flip Flopping


Stop by The Cut Shoppe to pick yours up today!


Thursday, August 21, 2014

Stitched Frame Tutorial

Hi friends,
This week is Stitching week over on the American Crafts Blog.  I was asked to create a project tutorial using with the focus on stitching (right up my alley).  I created a stitched frame, and I will show you down below just how I created it using leftover paper strips.

Gina_Lideros_altFrame_AC1
Supplies: Geyser (71469) - Cardstock, Dear Lizzy Daydreamer 6x6 (366767) - Paper Pads, Amy Tangerine Cut and Paste (366086) - Paper Pads, Jacks Paper (366755) - Daydreamer, Marbles Paper (366749) - Daydreamer, Bike Ride Paper (366751) - Daydreamer, Flying Kites Paper 366754) - Daydreamer, Hide N Seek Paper (366746) - Daydreamer, Hula Hoop Paper (366760) - Daydreamer, Juggling Paper (366757) - Daydreamer, Jump Rope Paper (366753) - Daydreamer, Paper Planes Paper (366748) - Daydreamer, Red Rover Paper (366744) - Daydreamer, See Saw Paper (366758) - Daydreamer, Treasure Hunt Paper (366752) - Daydreamer, Blossom Paper (366042) - Cut and Paste, Heart Throb Paper (3664) - Cut and Paste, Infatuation Paper (366030) - Cut and Paste, On The Edge Paper (366043) - Cut and Paste, Postmarked Paper (366044) - Cut and Paste, Section 1 Paper (366033) - Cut and Paste, Grainy Goodness Paper (366049) - Cut and Paste, Sorbet Paper (366048) - Cut and Paste, A Lister (366029) - Cut and Paste, My  Thoughts Exactly (366052) - Cut and Paste, Cut Up Scissors Value Pack (AC420) - Tools, This To That (AM617-13) - Adhesive

Step 1: Gather paper trimmer, cardstock, scissors, patterned papers, adhesive, sewing machine, and thread.
Gina_Lideros_AltTutorial_1
Step 2: Trim patterned papers into 3/4" strips (width), the length can vary. Tip: you are going to want different lengths when you start laying them in a pattern.

Gina_Lideros_AltTutorial_2
 Step 3: Starting from the bottom of your cardstock and working across, start adhering patterned paper strips in a brick like fashion.

Gina_Lideros_AltTutorial_3

Continue step 3, follow the brick pattern until you have filled up the entire page. I had little pieces on the ends that I went back in and filled up last.
Gina_Lideros_AltTutorial_4
Step 4: Use a sewing machine to stitch each paper strip down. I turned my paper sideways and sewed one line at a time in a vertical fashion using a straight stitch. You can also use a zig zag stitch for this, or use a combination of stitching techniques.
Gina_Lideros_AltTutorial_5

Step 5: After stitching the whole piece use your scissors to trim off any excess paper strips or thread you might have on the ends.
Gina_Lideros_AltFrameTut

Display in a shadow box frame and enjoy!
Gina_Lideros_altFrame_AC1
This project is a great way to use up patterned paper scraps and make a beautiful piece of decor!


Wednesday, August 20, 2014

Brads, Buttons & Bling Cards

Hi there,

Last week was brads, buttons and bling week on the American Crafts blog. Here are the three cards that I made using brads, buttons and bling.  Whee! 

Gina_Lideros_Card_Trio
American Crafts brads, buttons, and bling are a fun way to dress up your projects.  The wood epoxy buttons are my favorite go-to embellishment.

You Make Me Happy Card
Gina_Lideros_bow_card_AC
Supplies: Flying Kites Paper (366754) -Daydreamer, Hop Scotch Paper (366743) -Daydreamer, Hula Hoop Paper (366760) -Daydreamer, Juggling Paper (366757) -Daydreamer, Love Notes Paper (366764) -Daydreamer, Paper Planes Paper (366748) -Daydreamer, See Saw Paper (366758) -Daydreamer, Dear Lizzy Wood Epoxy Buttons (366796) - Daydreamer, Sticker Book (366778) - Dear Lizzy, Mister Huey's Opaque White (101100) - Studio Calico, MH Styleboard Die set (683445) - Crate Paper, This To That (AM617-13) - Adhesive

You are Loved card
Gina_Lideros_Star_card_AC
Supplies: Dear Lizzy Daydreamer 6x6 (366767) - Paper Pads, Dear Lizzy Daydreamer Enamel Dots (366785) - Daydreamer, Cartwheels Paper (366763) - Daydreamer, Dear Lizzy Wood Epoxy Buttons (366796) - Daydreamer, Mister Huey's Opaque White (101100) - Studio Calico, Atlantic Glitter Stickers (331395) - Studio Calico, Knock Outs Star Punch 1.5" (KOP63102) - Punches, Knock Outs Star Punch 2" (KOP63114) - Punches, DIY Shop Light Burlap Bows (36626) - DIY Shop, Perforated Book Dear Lizzy Lucky Charm (85657)- Bits, This To That (AM617-13) - Adhesive

You and Me card
Gina_Lideros_heart_card_AC

Supplies: Dear Lizzy Daydreamer 6x6 (366767) - Paper Pads, Cartwheels Paper (366763) - Daydreamer, Knock Outs Heart Punch 2" (KOP63120) - Punches, Dear Lizzy Adhesive Metal Badges (366795) - Daydreamer, Mister Huey's Opaque White (101100) - Studio Calico, MH Styleboard Die set (683445) - Crate Paper, This To That (AM617-13) - Adhesive


I hope you enjoyed my cards today!  Thanks for stopping by!


Monday, August 18, 2014

The Cut Shoppe Blog Hop Winner

Hi there!  Just popping in real quick to announce the winner of The Cut Shoppe Blog Hop.
My winner is:


Brenda - we will be emailing you your free cut file shortly.  Thank you to everyone that took the time to hop along and leave a comment.


Scrappy Blog Tour

Hiya!  Last week I was tagged by the ever so talented Paige Evans to participate in a Scrappy Blog Tour.  Paige has a one of a kind style.  She is known for her intricate quilting designs that can't be beat.  Her style is so amazing and distinct that I can always tell her work right away when I see it.

Here are a few fun questions that I got to answer for this 'blog tour' series...


1. What am I working on right now?

a super fun layout in the works for American Crafts!  Here is a sneak peek!


2. How long does it take me to create a project?

If I sit down with a plan of action (idea already in my head) than it usually takes me anywhere from one hour to two and a half hours.  It all depends on how involved the project is.  If it has a lot of stitching (machine or hand) or intricate pieces, it can take longer.


3. What are my favorite things to create with at the moment?

Studio Calico spray mists (image from Moxie Fab World), My Canon 7D (as a former employee of Canon I am a Canon girl for life, most of my projects start and end with my Canon 7D), American Crafts Cardstock (image from Northridge Publishing), Patterned Paper (really digging this new line by Jen Hadfield for Pebbles), Sewing Machine (this baby gets a work out daily), my Silhouette Cameo (it's hard to remember the days before it came along)


4.  How does my writing/creating process work?

I have to clean off my scrap table before I start a new project.  This is also a way to clear my head and start fresh!  Sometimes ideas will come to me in the middle of the day or night (the best usually come in the middle of the night), so I will try to sketch or jot them down right away before I forget.  That way, when I'm ready to start a project I already have an idea in mind. If I'm really in a grind, I usually browse Pinterest or step away for awhile and do something else.


5. How do I become inspired and stay inspired?

I love to look at Pinterest and Studio Calico for ideas and to keep up on the latest trends.  I find Pinterest really useful.  Sometimes I will become inspired by a piece that is not scrapbook related.  Like a quilt, art poster or home decor.  Those are the most fun to become inspired by!


6. What is my signature style?

My layouts usually start with a blue, green, gray or white background.  These are my go- to colors, although I do stray from time to time.  I like to add in lots of patterned papers, punches, digital cut files from my Silhouette Cameo, and lots of stitching!  I love bright colors and use a lot of spray mists on my pages.  Lately, I have been playing with and adding in some gelatos or paint.


Now, it's my turn to to tag three of my favorite scrappers:

Melissa Mann -  This girl seriously rocks her pages!  I love how she finds interesting ways to scrap everyday moments, and I love her use of die cuts and stitched titles!
Jenni Calma -   This girl has a great eye for color.  I love her creative uses for mists and inks on her pages!
Valerie Huang - This girl always finds fun and unique ways to use products.  Her pages are really inspiring.


Look for their scrappy blog tour posts in a week, next Monday August 25!