This is a personal blog. All editorial content and projects are intellectual property of http://americancrafts.typepad.com/. I do receive financial compensation and material product from American Crafts to develop my craft posts, but all ideas and opinions are my own.
Supplies: Dear Lizzy Documentary (340315) - Party Animal Paper, Halloween (340369) - Pom Pom Flowers Kit,
Halloween (340375) - Cluster Party Decor Kit, Heidi Swapp Marquee (HS314884) - Love Halloween Kit Pumpkin, Crate Paper After Dark (AD680269) - Spooky Glitter Foam Thickers Shape Stickers, Crate Paper After Dark (AD680272) - Chipboard Stickers Glitter Accents, Heidi Swapp Minc (HSFOIL12-100) - Orange Reactive Foil, Heidi Swapp Minc (HS680288) - Ephemera Crate Paper Die Cuts, Heidi Swapp Minc (HS370124) - Applicator & Starter Kit, Crate Paper After Dark (AD680277) - Wood Veneer Shapes
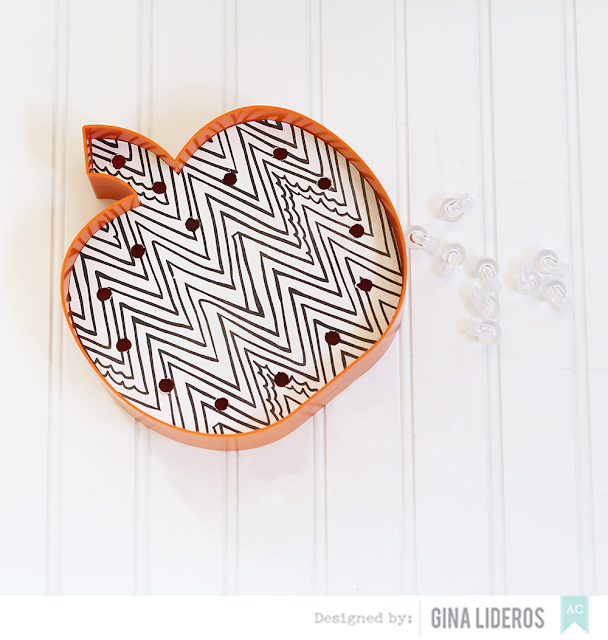
1. Take out the template included in the Heidi Swapp Marquee Love Halloween Pumpkin Kit, and trace onto Dear Lizzy Documentary Party Animal paper using a pencil. Use scissors to cut out.issors to cut out.
3. Place cut paper on top of marquee pumpkin. Place include marquee bulb lights
inside cut holes.
4. Screw on plastic backs, and place lights in each hole. Work in a step by step
fashion, starting in the bottom middle and going right to left.
5. Next, place Thicker letters onto pumpkin surface spelling out the word "Boo".
Run "Fun This Way" die cut piece through Minc machine using orange reactive
foil and adhere just above title.
Once your marquee pumpkin is done, enjoy! Set up with other pieces to complete
the look!


No comments:
Post a Comment