Showing posts with label December Daily. Show all posts

Wednesday, December 23, 2015

Pink Paislee | Christmas Countdown Day 23

This is a personal blog. All editorial content and projects are intellectual property of http://canoncreativegirl.blogspot.com/.  I do receive financial compensation and material product from Pink Paislee to develop my craft posts, but all ideas and opinions are my own.


Hi everyone,  I hope that you are enjoying the Christmas Countdown series on the Pink Paislee blog.  I have another page to share with you today.  I'm sharing today how I documented day 23.

Day 23 is all about the hot cocoa, a family favorite in our house.  I printed out both a black and white photo and color photo for my page spread.  


I love adding dimension to my pages.  I used Sticky Thumb 3d foam squares to pop up my snowflakes before adhering them down.


Next, I added some sequins and machine stitching to my left page.  On the right side I added a piece of snowflake paper.  I love that it adds sparkle and shine to my notebook.  Here is a closeup look at the detail and how it all came together.


On the right side I spelled out cocoa at the bottom of my page.  I added sequins, stitching and enamel dots to embellish my page.  To finish off my page I added a shiny red label and the words "peppermint cocoa" just below my photo.


Collection used: Yuletide


Monday, December 14, 2015

Pink Paislee | Day 13

This is a personal blog. All editorial content and projects are intellectual property of http://canoncreativegirl.blogspot.com/.  I do receive financial compensation and material product from Pink Paislee to develop my craft posts, but all ideas and opinions are my own.


Hi everyone,  I hope that you have enjoyed following along so far with the Christmas Countdown series on the Pink Paislee blog.  I would like to share with you today, how I am documenting day 13 on our Christmas countdown.


I started my first page by creating a 3d star with my Silhouette. Then I added the cardstock jumbo numbers to the top.  I spelled out the word “Tree” at the bottom of my page using the jumbo cardstock alphabet.  I used my sewing machine to to stitch down my letters.  I added sequins and stars throughout my page. 


On my second page, I added a small black and white photo of our Christmas tree.  I thought it would be fun to add some die-cut Christmas trees to my page.  I cut them out with my Silhouette and then folded them down the middle and popped them up to create a fun accent to the bottom of my page. 


I added some sequins, ephemera and canvas stars.  I used my sewing machine to stitch a few of them down.  I love the color combo of the stars with the die-cut trees and the black and white photo. 


I finished up my page by using alpha stamps to spell out “the tree”.  I just love how it all comes together. 


Sunday, December 6, 2015

Pink Paislee | Christmas Countdown Day 3

This is a personal blog. All editorial content and projects are intellectual property of http://canoncreativegirl.blogspot.com/.  I do receive financial compensation and material product from Pink Paislee to develop my craft posts, but all ideas and opinions are my own.

Hi everyone,  I hope that you have enjoyed following along so far with the Christmas Countdown series on the Pink Paislee blog.  I would like to share with you today, how I am documenting day 3 on our Christmas countdown.


Each year, I like to make a batch of Peppermint Bark for family and friends and deliver them in a festive tin.  I’m not much of a baker, but I love Peppermint Bark and found a recipe on the internet that worked for me.  I printed a couple of photos of my festive treat and added it to my pages for day 3.


I wanted to make my own embellishments that were as fancy as my treat, so I created a 3d snowflake by using my die cut machine.  I simply cut the same image out several times and then layered it onto my page.  I placed a jumbo Yuletide number 3 on top of my 3d snowflake to document the day.

On my second page, I used a score board to create 3d stars and then intertwined them with embellishments from the ephemera pack and foiled canvas stars pack.  I also added a few pieces of kraft colored filler strips (from the wrapping paper section at my local store) to help give my design dimension.

Next, I decided to dress up one of the dividers within my notebook.  To do this, first I trimmed a piece of double-sided Countdown paper to measure 6 x 8 3/4″.  I used my Heidi Swapp Memory Dex punch to do this.  For a great tutorial on how to do this, please visit Raquel’s post here.  Next, I trimmed a spare piece of transparency paper measuring 6x 7 3/4″.  I placed the Yuletide jumbo letters inside my pocket spelling the word “Xmas”.

Next, I filled my pocket with sequins and used a sewing machine to stitch the ends closed.  When you shake the transparency pocket the word  “Xmas” shows through.  On the adjacent side I flicked a bit of Heidi Swapp Gold Color Shine across the page, and added a few sequins and ephemera and sticker pieces to complete my page.

If you are using the Yuletide Document December Journal to document your December, we would love to see it!  Share it with us on our Facebook page or tag us on Instagram using @pinkpaislee or the #pinkpaisleeYuletide hashtag!


Saturday, January 31, 2015

December Album

Now that the holidays are over I have been working on my December album to document lots of photos and memories that I took during the month of December.   I created my album using Pink Paislee's Merry and Bright Canvas Album kit, cards, papers, ephemera and stickers.


Here is a peek of the front cover.  I kept it simple to really let the sequin star shine.


On page one I used photos of my sweet niece Olivia in front of the Christmas Tree.  I used a brush set from Ali Edwards and printed my photos in black and white.


For page two I used a photo of candles that adorned our Christmas table.  I added some sequins to the bottom right hand pocket, and lots of lovely ephemera pieces.


For page three I used an adorable photo of my nieces Miranda and Olivia in front of the Christmas tree.  I'm so lucky to have such cute subjects to scrap!  I added some Studio Calico wood veneer pieces to the top right hand corner of my page.  


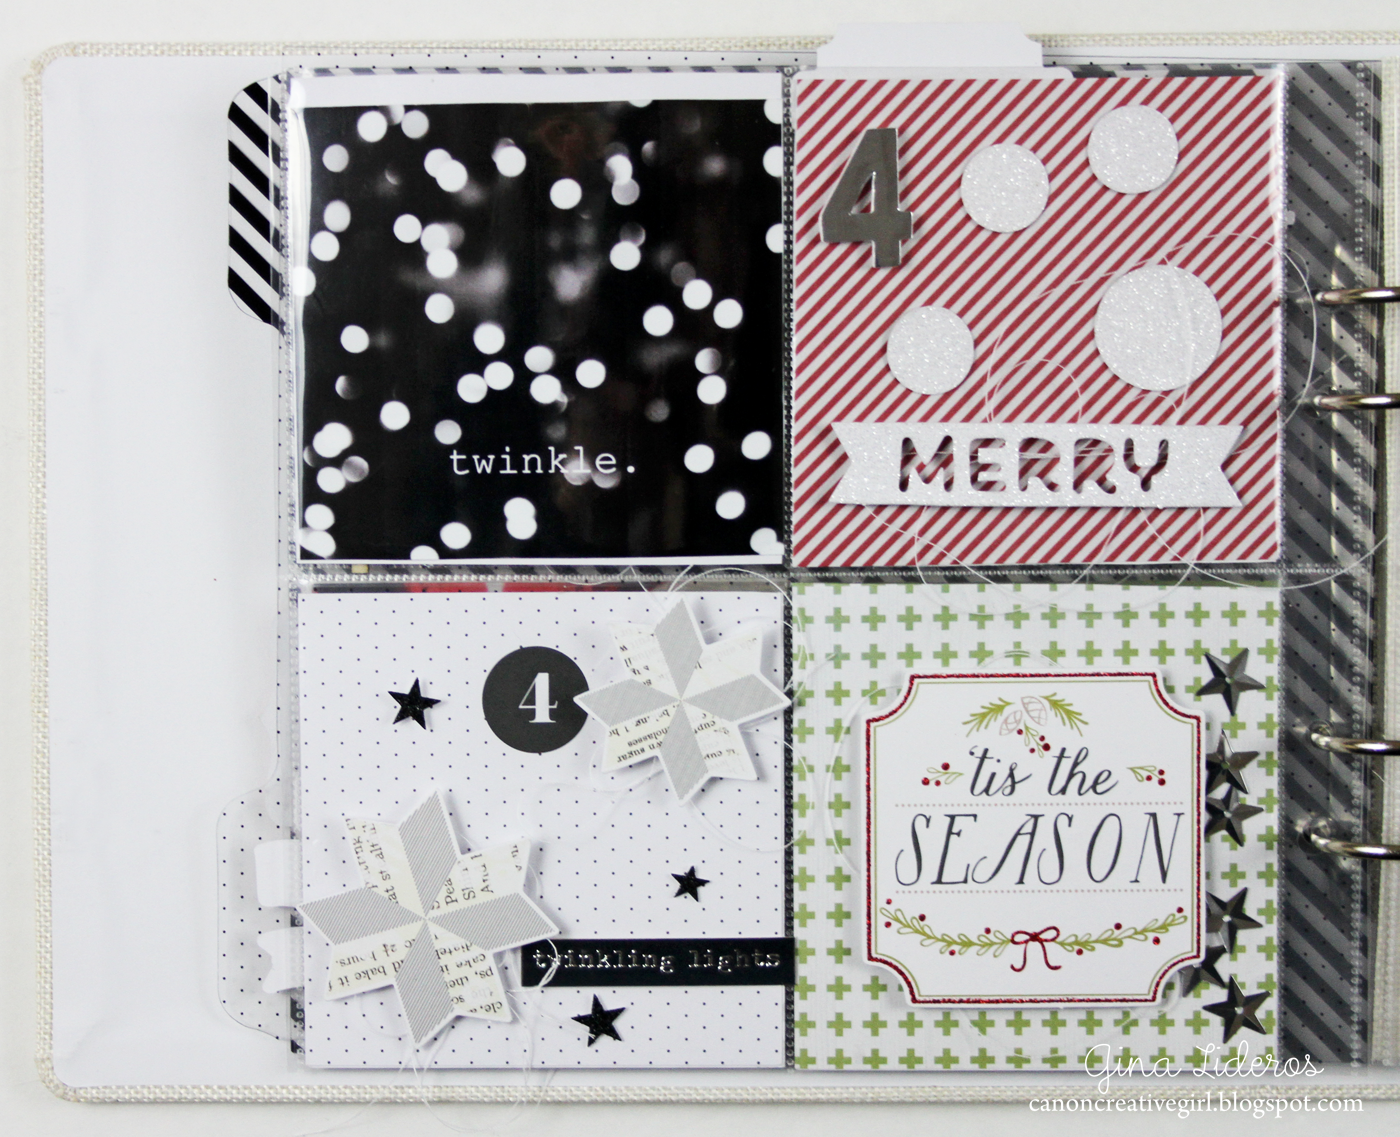
On page four, I took a photo of our tree using a bokeh effect.  I love the look!  I added silver sequin stars to the bottom right hand pocket.


On page five, I used another photo of my sweet niece Olivia in front of the tree with her Santa hat on.  I added some ephemera pieces, thread and glitter stickers.


On page six, I used a photo I snapped of some Christmas ornaments.  I added some star sequins and wood veneer.


For page seven, I used a photo of my kids (Kalee and Matthew) with their cousin Miranda.  I added some wood veneer pieces, a canvas star, and a cute little bow from Pink Paislee.


Throughout the rest of the month I will be working on finishing up the rest of the album.  I will post the final pages here when I complete them.  


Thanks for looking!