Tuesday, December 29, 2015

American Crafts | New Years Eve Party Pieces

This is a personal blog.  All editorial content and projects are intellectual property of http://americancrafts.typepad.com/.  I do receive financial compensation and material product from American Crafts to develop my craft posts, but all ideas and opinions are my own.


Hi everyone!  It's New Years Eve party pieces week on the American Crafts blog.  I'm sharing festive treat boxes that I created using their DIY Shop 3 and Dear Lizzy Documentary collections.


You can create quick New Years Eve party pieces in a flash by using supplies that you
already have on hand.  These came together in a snap using cardstock, and stickers.


supplies: Deck The Halls (DTHSTAR-40415) - Details Dimensional Stars Silver & Gold, DIY Shop 3 (370857) - Kraft Cardstock White Chevron, DIY Shop 3 (370862) - Varnish Carstock Black Triangles,  DIY Shop 3 (370868) - Alphabet Stickers Silver Foil, Dear Lizzy Documentary (340200) -Foiled Stickers Accents & Phrases


How To:  Use cut files to create pillow boxes in Silhouette Studio.  Assemble boxes and fill with New Years Eve treats.  Embellish boxes with dimensional stars.  Finish boxes by adding accents & phrases stickers and adding silver foil numbers to spell out "2016".


Wednesday, December 23, 2015

Pink Paislee | Christmas Countdown Day 23

This is a personal blog. All editorial content and projects are intellectual property of http://canoncreativegirl.blogspot.com/.  I do receive financial compensation and material product from Pink Paislee to develop my craft posts, but all ideas and opinions are my own.


Hi everyone,  I hope that you are enjoying the Christmas Countdown series on the Pink Paislee blog.  I have another page to share with you today.  I'm sharing today how I documented day 23.

Day 23 is all about the hot cocoa, a family favorite in our house.  I printed out both a black and white photo and color photo for my page spread.  


I love adding dimension to my pages.  I used Sticky Thumb 3d foam squares to pop up my snowflakes before adhering them down.


Next, I added some sequins and machine stitching to my left page.  On the right side I added a piece of snowflake paper.  I love that it adds sparkle and shine to my notebook.  Here is a closeup look at the detail and how it all came together.


On the right side I spelled out cocoa at the bottom of my page.  I added sequins, stitching and enamel dots to embellish my page.  To finish off my page I added a shiny red label and the words "peppermint cocoa" just below my photo.


Collection used: Yuletide


Friday, December 18, 2015

Illustrated Faith | Luke 2:7

This is a personal blog.  All editorial content and projects are intellectual property of  http://www.illustratedfaith.com/  I do receive financial compensation and material product from Illustrated Faith to develop my craft posts, but all ideas and opinions are my own.


As Christmas approaches I am so in awe of God's love for us and how he sent his son to us. "For God did not send his Son into the world to condemn the world, but to save the world through him."  I am reminded by his love through mercies I see everyday.


I have been following along with the Naptime Diaries devotional all throughout advent season and I was so struck with pages 17 and 18 about the birth of baby Jesus.


Joseph and Mary did not have a convenient Holiday Inn or Motel to pull into, so they had to go wherever they could find a place to stay.  What I am struck by the most in this scripture is that the inn-keeper told them that there was no room "And she gave birth to her firstborn,
a son.  She wrapped him in cloths and placed him in a manger, because there was no guest room available for them".  Luke 2:7 How can we use this example in everyday life?  Do you want to be that inn-keeper that denies them a room?  Or, do you want to be Christ-like and
open your heart?  I hope that it is the latter, I know that I need to keep practicing it myself in my daily life and showing kindness to people.


I love how Shanna Noel has shared her approach to advent this year with us on her Periscope channel, and her genius idea of doodling over words in the Naptime Diaries devotional book.  I started out my journal using the same approach. The pages in the Illustrated Faith journals are just thin enough that you can trace over the creative titles in the Naptime Diaries devotional with a pencil, and then fill in the rest using a
fine tipped black marker.


I added paint to my pages next, and when they dried I added journaling, stamping, and embellishments.  On my second page I spelled out the title "There was no room for them at the inn" using stickers, and stamped the verse Luke 2:7


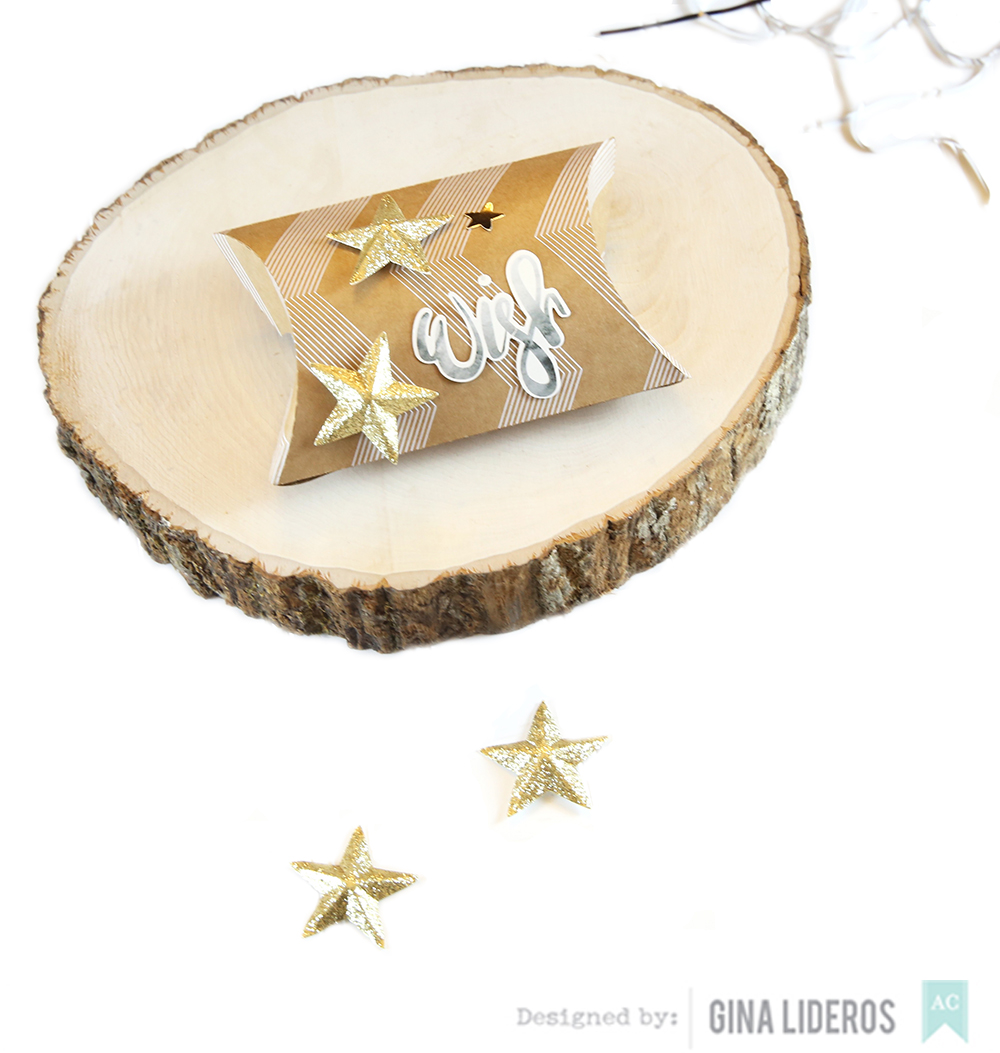
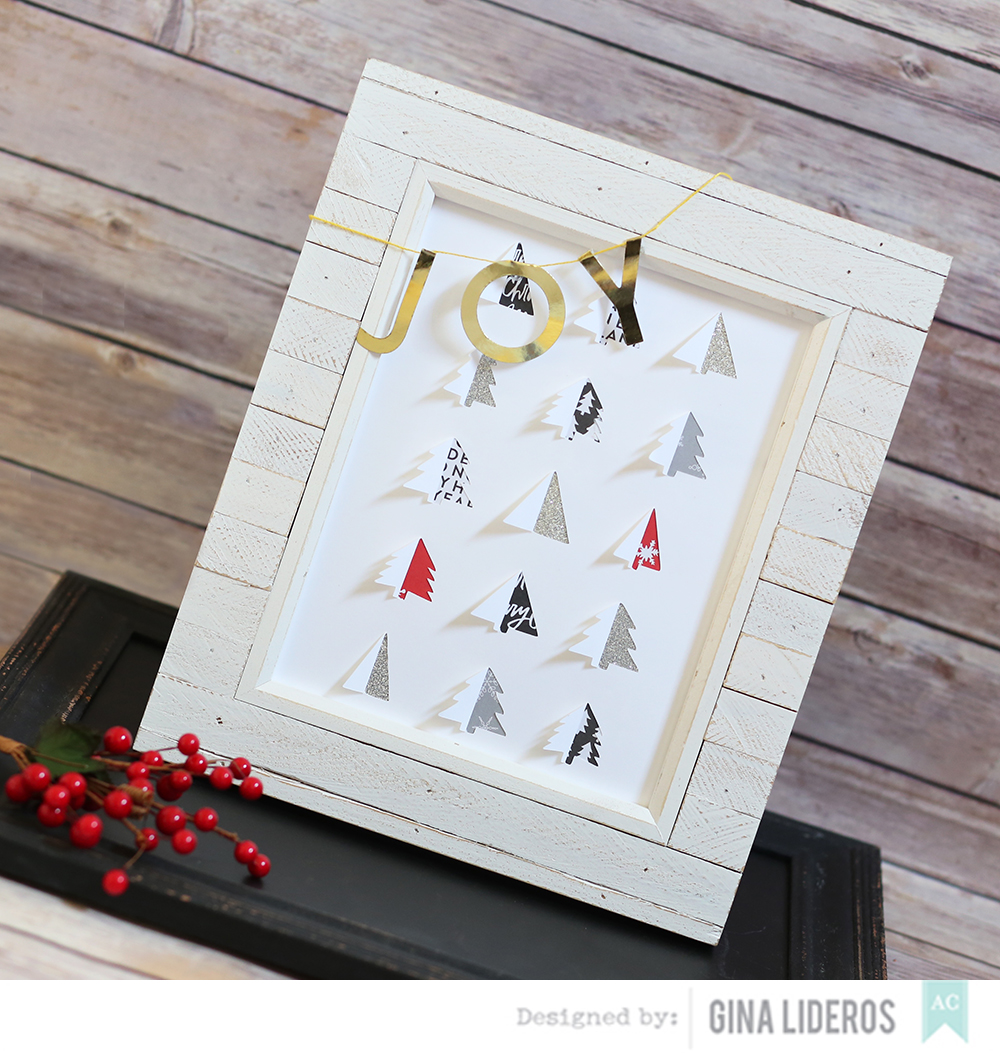
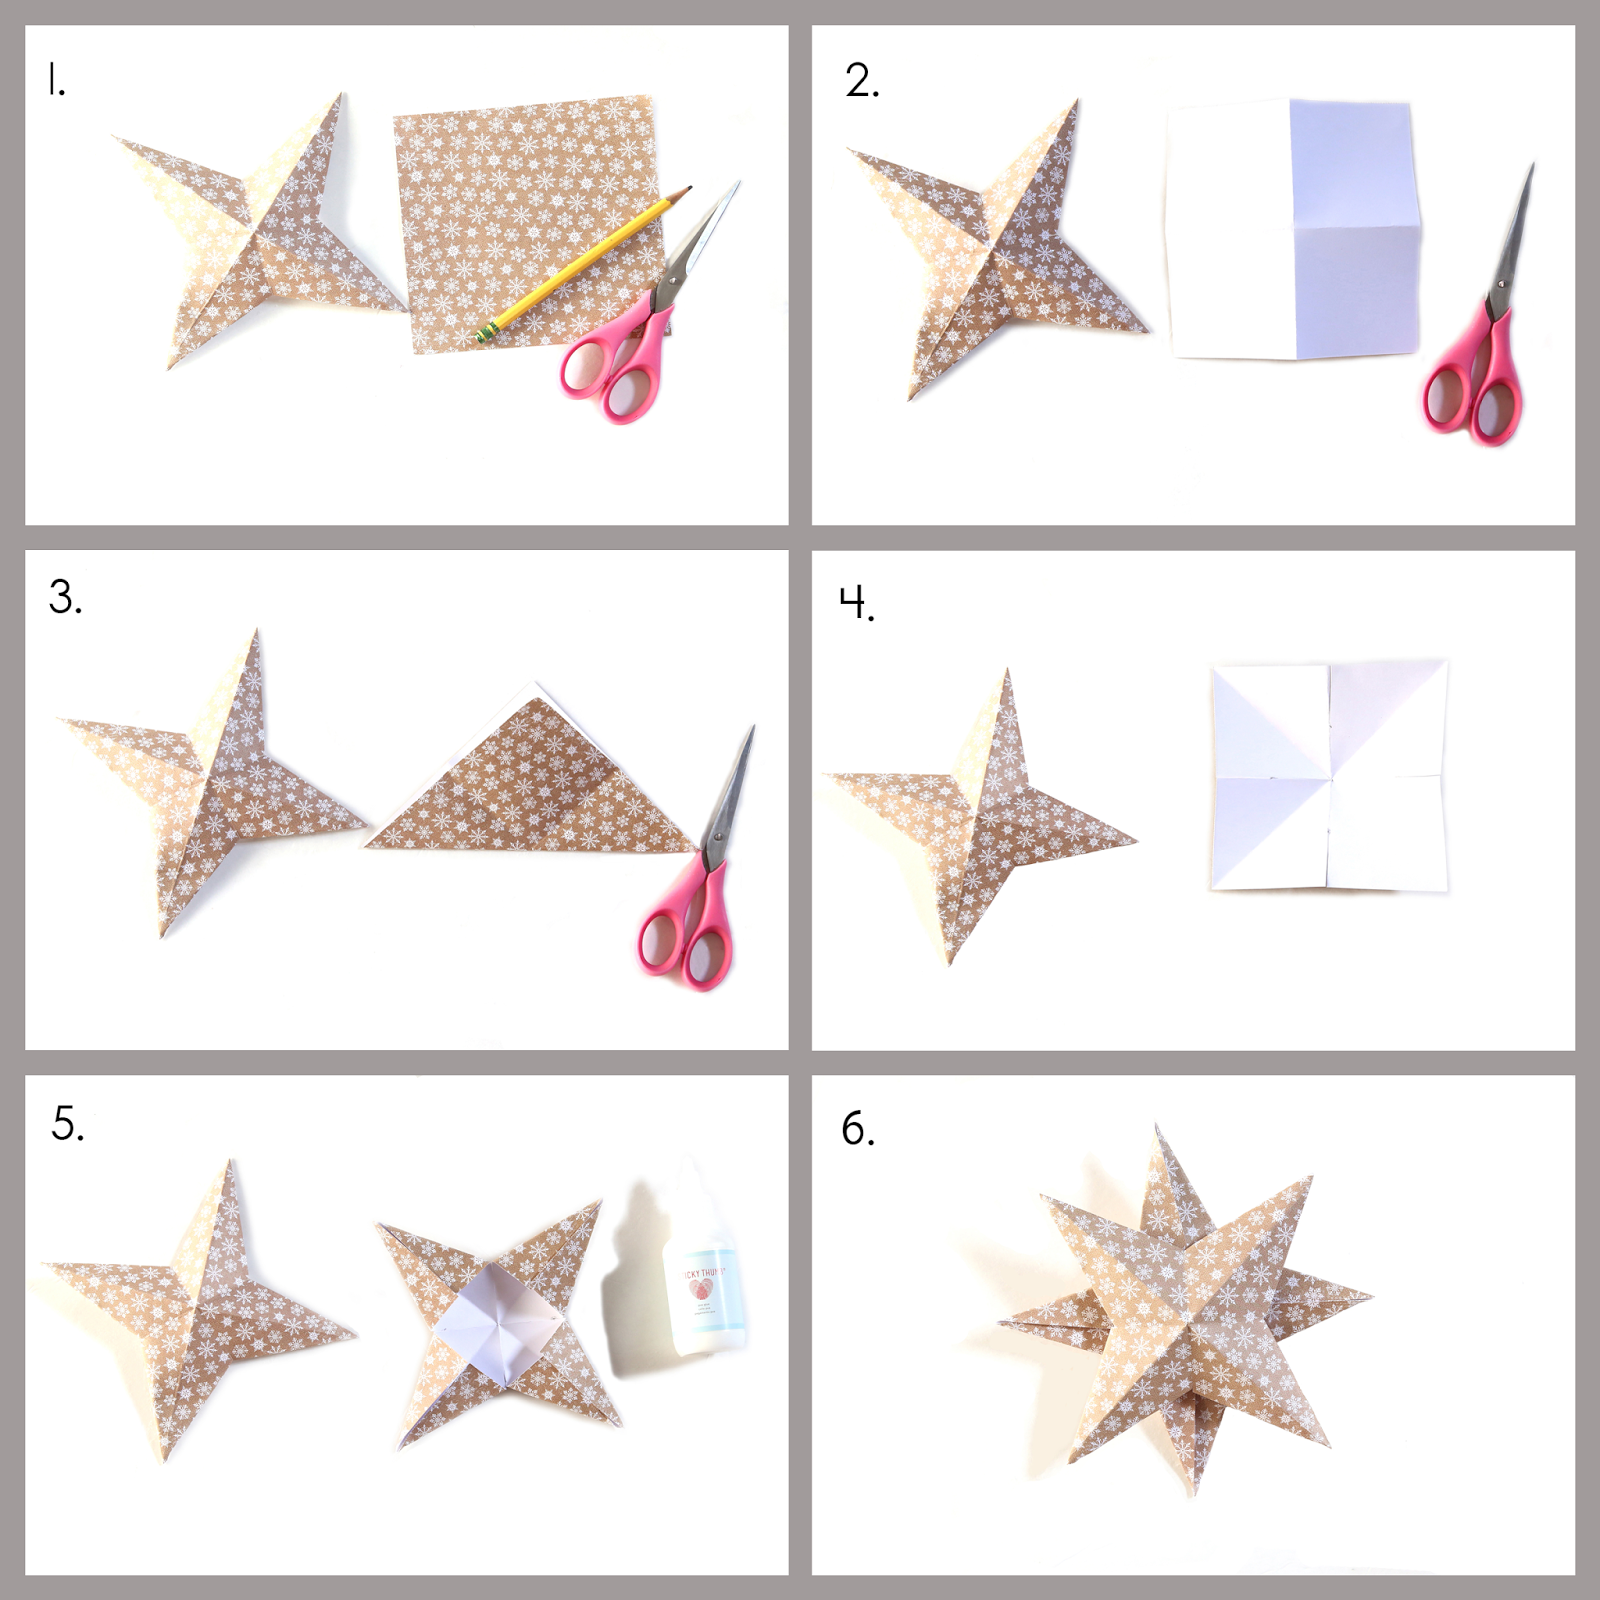
Supplies:  Illustrated Faith: Advent Journaling Kit | Illustrated Faith: Gratitude Documented Stamps | Illustrated Faith by Bella Blvd Fold It 5x7 Stickers | Illustrated Faith by Bella Blvd Point It 5x7 Stickers |  Illustrated Faith by Bella Blvd: Big & Bold Black Eyed Pea Stickers | Illustrated Faith Precision Pen .35 | Illustrated Faith Advent Journal | Illustrated Faith Prince Of Peace Printables | Illustrated Faith Homespun Numbers | Illustrated Faith Emily's Patterns 4x6 Stamp Set | Illustrated Faith by Bella Blvd You Rule Bible Mat | Illustrated Faith by Bella Blvd Word Art 1.5" Washi Tape | Bella Blvd Dots Guacamole | Bella Blvd Dots Blueberry | Bella Blvd White 12x12 Alphabet Stickers | Bella Blvd Black 12x12 Alphabet Stickers | Bella Blvd Pumpkin Spice 12x12 Alphabet Stickers | Bella Blvd Pretty Boy 12x12 Alphabet Stickers | Bella Blvd Mini Olive You 5x9 Stickers | Liquitex Acrylic Color Yellow Oxide | Artist Loft Watercolor Pan Set | StazOn Black Ink Pad | Naptime Diaries Devotional

Wednesday, December 16, 2015

American Crafts | Year In Review


This is a personal blog.  All editorial content and projects are intellectual property of http://americancrafts.typepad.com/.  I do receive financial compensation and material product from American Crafts to develop my craft posts, but all ideas and opinions are my own.


Hi everyone!  It's Year In Review week on the American Crafts blog.  I'm sharing a clip it up frame that I created using the Dear Lizzy Documentary and Jen Hadfield DIY Home collections.


Supplies:  Dear Lizzy Documentary (340200) - Foiled Stickers Accents & Phrases, Dear Lizzy Documentary (340204) - Ephemera W/Gold Foil,Dear Lizzy Documentary (340205) - Dimensional Cork Bows, Dear Lizzy Documentary (HS340217) - Watercolor Tags, Dear Lizzy Documentary (340293) -Foiled Acetate Heart Of Gold, Jen Hadfield DIY Home (JH732941) - Minc Cards


1.  Print out some of your favorite photographs from the past year and clip them to your desired frame.


2. Choose your favorite embellishments and add them to your frame in between your photos.


3.  Once you get all of your desired photos and embellishments sorted and clipped to your 
frame, move them around as needed until you get your desired look.


4.  Display your frame in your home and enjoy!


How are you documenting your photos from the past year?


Monday, December 14, 2015

Pink Paislee | Day 13

This is a personal blog. All editorial content and projects are intellectual property of http://canoncreativegirl.blogspot.com/.  I do receive financial compensation and material product from Pink Paislee to develop my craft posts, but all ideas and opinions are my own.


Hi everyone,  I hope that you have enjoyed following along so far with the Christmas Countdown series on the Pink Paislee blog.  I would like to share with you today, how I am documenting day 13 on our Christmas countdown.


I started my first page by creating a 3d star with my Silhouette. Then I added the cardstock jumbo numbers to the top.  I spelled out the word “Tree” at the bottom of my page using the jumbo cardstock alphabet.  I used my sewing machine to to stitch down my letters.  I added sequins and stars throughout my page. 


On my second page, I added a small black and white photo of our Christmas tree.  I thought it would be fun to add some die-cut Christmas trees to my page.  I cut them out with my Silhouette and then folded them down the middle and popped them up to create a fun accent to the bottom of my page. 


I added some sequins, ephemera and canvas stars.  I used my sewing machine to stitch a few of them down.  I love the color combo of the stars with the die-cut trees and the black and white photo. 


I finished up my page by using alpha stamps to spell out “the tree”.  I just love how it all comes together. 


Wednesday, December 9, 2015

American Crafts | Holiday Decor

This is a personal blog.  All editorial content and projects are intellectual property of http://americancrafts.typepad.com/.  I do receive financial compensation and material product from American Crafts to develop my craft posts, but all ideas and opinions are my own.


Hi everyone!  It's Holiday Decor week on the American Crafts blog.  I'm sharing a festive frame that I created using their Deck The Halls and Very Merry collections.


Supplies: Deck The Halls (340471) - 6"x6" Paper Pad, Holiday (340541) - Foil Mini Words Garlands, Very Merry (340472) - 6"x6" Paper Pad, POW Glitter Paper (POW-71511) - Solid/Silver, Cardstock (AM71-793) - Smooth White, Sticky Thumb (ST340261) - Adhesive Runner and Refill Permanent Solid


How To: Use your die cut machine to cut out Christmas Tree background from 8"x10" smooth white cardstock paper.  Use a bone folder to fold over each flap from tree design. Trim small pieces of background papers from Deck The Halls 6"x6" paper pad, Very Merry 6"x6" paper pad and solid silver glitter paper. Use adhesive to adhere cut background papers to the back of each tree design on your page.  Frame design.  Use adhesive to hang "JOY" foil garland words on top left hand side of frame.


This cute cut file was designed by Amy Jo Creates, you can download one here on her blog.


Tuesday, December 8, 2015

American Crafts | Christmas Cards

This is a personal blog.  All editorial content and projects are intellectual property of http://americancrafts.typepad.com/.  I do receive financial compensation and material product from American Crafts to develop my craft posts, but all ideas and opinions are my own.

I like to keep my Christmas cards simple, especially if I'm making a lot.
With punches, paper pads and stickers, you can achieve these cards in 
very little time.


Supplies: Very Merry (340472) - 6x6 Paper Pad, Deck The Halls (340471) - 6x6 Paper Pad, Remarks (3404082) - Accent & Phrase Stickers, Details (340415) - Twinkle Dimensional Shapes, Knock Outs (KOP63111) - Dear Lizzy Triangle Banner Punch

How To: Create a card from cardstock measuring 5 1/2"x 5 1/2".  Trim a piece of plaid pattern paper measuring 5 1/2" and adhere to card front.  Trim a piece of white cardstock measuring 5x5" and adhere to center of card face. Use triangle punch to punch out several triangle pieces from the 6x6" paper pads.  Line the triangles up to create a Christmas tree and adhere to the center of card face.  Use a sewing machine and white thread to adhere down.  Add a "joy" sticker to the right hand side of card design.  Finish card by adhering a dimensional shape star to top of tree. 


Supplies: Holiday (340564) - Buttons, Deck The Halls (340401) - Sleigh Ride Paper, Deck The Halls (340471) - 6x6 Paper Pad, Remarks (3404082) - Accent & Phrase Stickers, Knock Outs (KOP63100) - Circle 1.5" Punch

How to: 
Create a card from cardstock measuring 5 1/2"x 5 1/2".  Trim a piece of Sleigh Ride pattern paper measuring 5 1/2" and adhere to card front.  Trim a piece of white cardstock measuring 5x5" and adhere to center of card face. Punch out circles from 6x6" paper pad measuring 1.5", 1" and 3/4".  Line up punched circle pieces and buttons till you get your desired look.  Use adhesive to adhere down.  Trim a small piece of black star paper and adhere to bottom of tree as a tree stump.  Finish card by adhering a black star sticker 
to top of tree.


Monday, December 7, 2015

Scrapbook Circle | December Mood Board

Hi there,
I have a new project today for Scrapbook Circle showing  how I used their December Mood board along with the Tell Your Story kit and The Documenter add-on  and Memory Keeper add-on to create my layout.


I loved the arrows, the fun bold colors and the different fonts that were present in this month's mood board.  I decided to use the December digital cuts to create my title for my page.  I found the title "Find Your Tribe, Love Them Hard" on social media a few months back and fell in love with it.  I knew that I wanted to use it as my title.  I cut each letter individually from different papers that were included in the main Tell Your Story kit.  Inspired by the bold colors in this month's mood board, I chose to use a variety of colors and patterns on my page.


I also loved the arrows in the mood board photo.  I chose several arrows from the main kit and add-on kits and added them to my page.  I even cut one out of my background before I put my page together using my Silhouette Cameo.  I added a black and white photo and a few stickers to finish off my page.  The combination of the black and white photo and black and white background paper along with all of the colorful letters and arrows make me smile.


I hope my page motivates you to use this month’s Mood Board as inspiration in your projects!  Share them with us on the Scrapbook Circle Facebook page so we can all see!


Sunday, December 6, 2015

Pink Paislee | Christmas Countdown Day 3

This is a personal blog. All editorial content and projects are intellectual property of http://canoncreativegirl.blogspot.com/.  I do receive financial compensation and material product from Pink Paislee to develop my craft posts, but all ideas and opinions are my own.

Hi everyone,  I hope that you have enjoyed following along so far with the Christmas Countdown series on the Pink Paislee blog.  I would like to share with you today, how I am documenting day 3 on our Christmas countdown.


Each year, I like to make a batch of Peppermint Bark for family and friends and deliver them in a festive tin.  I’m not much of a baker, but I love Peppermint Bark and found a recipe on the internet that worked for me.  I printed a couple of photos of my festive treat and added it to my pages for day 3.


I wanted to make my own embellishments that were as fancy as my treat, so I created a 3d snowflake by using my die cut machine.  I simply cut the same image out several times and then layered it onto my page.  I placed a jumbo Yuletide number 3 on top of my 3d snowflake to document the day.

On my second page, I used a score board to create 3d stars and then intertwined them with embellishments from the ephemera pack and foiled canvas stars pack.  I also added a few pieces of kraft colored filler strips (from the wrapping paper section at my local store) to help give my design dimension.

Next, I decided to dress up one of the dividers within my notebook.  To do this, first I trimmed a piece of double-sided Countdown paper to measure 6 x 8 3/4″.  I used my Heidi Swapp Memory Dex punch to do this.  For a great tutorial on how to do this, please visit Raquel’s post here.  Next, I trimmed a spare piece of transparency paper measuring 6x 7 3/4″.  I placed the Yuletide jumbo letters inside my pocket spelling the word “Xmas”.

Next, I filled my pocket with sequins and used a sewing machine to stitch the ends closed.  When you shake the transparency pocket the word  “Xmas” shows through.  On the adjacent side I flicked a bit of Heidi Swapp Gold Color Shine across the page, and added a few sequins and ephemera and sticker pieces to complete my page.

If you are using the Yuletide Document December Journal to document your December, we would love to see it!  Share it with us on our Facebook page or tag us on Instagram using @pinkpaislee or the #pinkpaisleeYuletide hashtag!


Friday, November 27, 2015

Yuletide Paper Star Ornaments

This is a personal blog. All editorial content and projects are intellectual property of http://canoncreativegirl.blogspot.com/.  I do receive financial compensation and material product from Pink Paislee to develop my craft posts, but all ideas and opinions are my own.


Who doesn’t like an easy to make paper star?  These multi dimensional stars are really easy to make, all you need is a few supplies to get started.  I used papers and embellishments from the Pink Paislee Yuletide collection to create mine.  They make cute decorations that can be used for all sorts of decorating.


Materials:
- patterned paper or other square paper (mine was approx. 6″)
- pencil
- scissors
- glue
- string to hang hem

How to:
Just follow the directions in the picture tutorial below.

1.  Gather materials.
2. Turn the paper over and fold into 4 quarters as shown in picture 2.
3. Turn the paper back over and fold diagonally in both directions.
4. Use a pencil to mark the middle of the folds that are creased towards you.  These are the horizontal and vertical creases that you made in step 2.  Cut with scissors from the edge to your pencil mark on all four sides.
5. Fold sides down and adhere with liquid glue.
6. One side is ready, but you need one more to complete the star.  Repeat the previous steps to make another star.  Place glue on the backsides of two stars and adhere together.  When the stars are done the pointed 3d sides should be facing out on both sides.

You can do variations on these stars, by switching up patterned paper, or switching up sizes.

I dressed my stars up by adding tags, canvas stars, and ephemera pieces from the Yuletide collection. 


  The little crinkled pieces of paper, I picked up in the gift wrapping section.  I was originally looking for gold or silver, but I love the way the kraft filler strips accentuate the stars.


Since I don't have my Christmas tree up yet, I pinned my paper star ornaments onto a frame using burlap string and clothespins.  I also filled a little basket with extra ones.


You could easily add these to a tree with clips, hooks or use a hole punch and thread to create loops to hang them with.